This document outlines the process for obtaining API access to a Jiko's sandbox environment and utilizing a private sandbox "customer" tenant.
Please be aware that the sandbox environment is not linked to live payment networks, meaning it cannot process real funds or initiate actual payments (withdrawals or third-party transfers). Consequently, any approved transfer requests within this environment will not be executed.
- Use the following URL to access Jiko's sandbox sign up page: https://authentication-portal.sandbox-api.jikoservices.com/sign-up
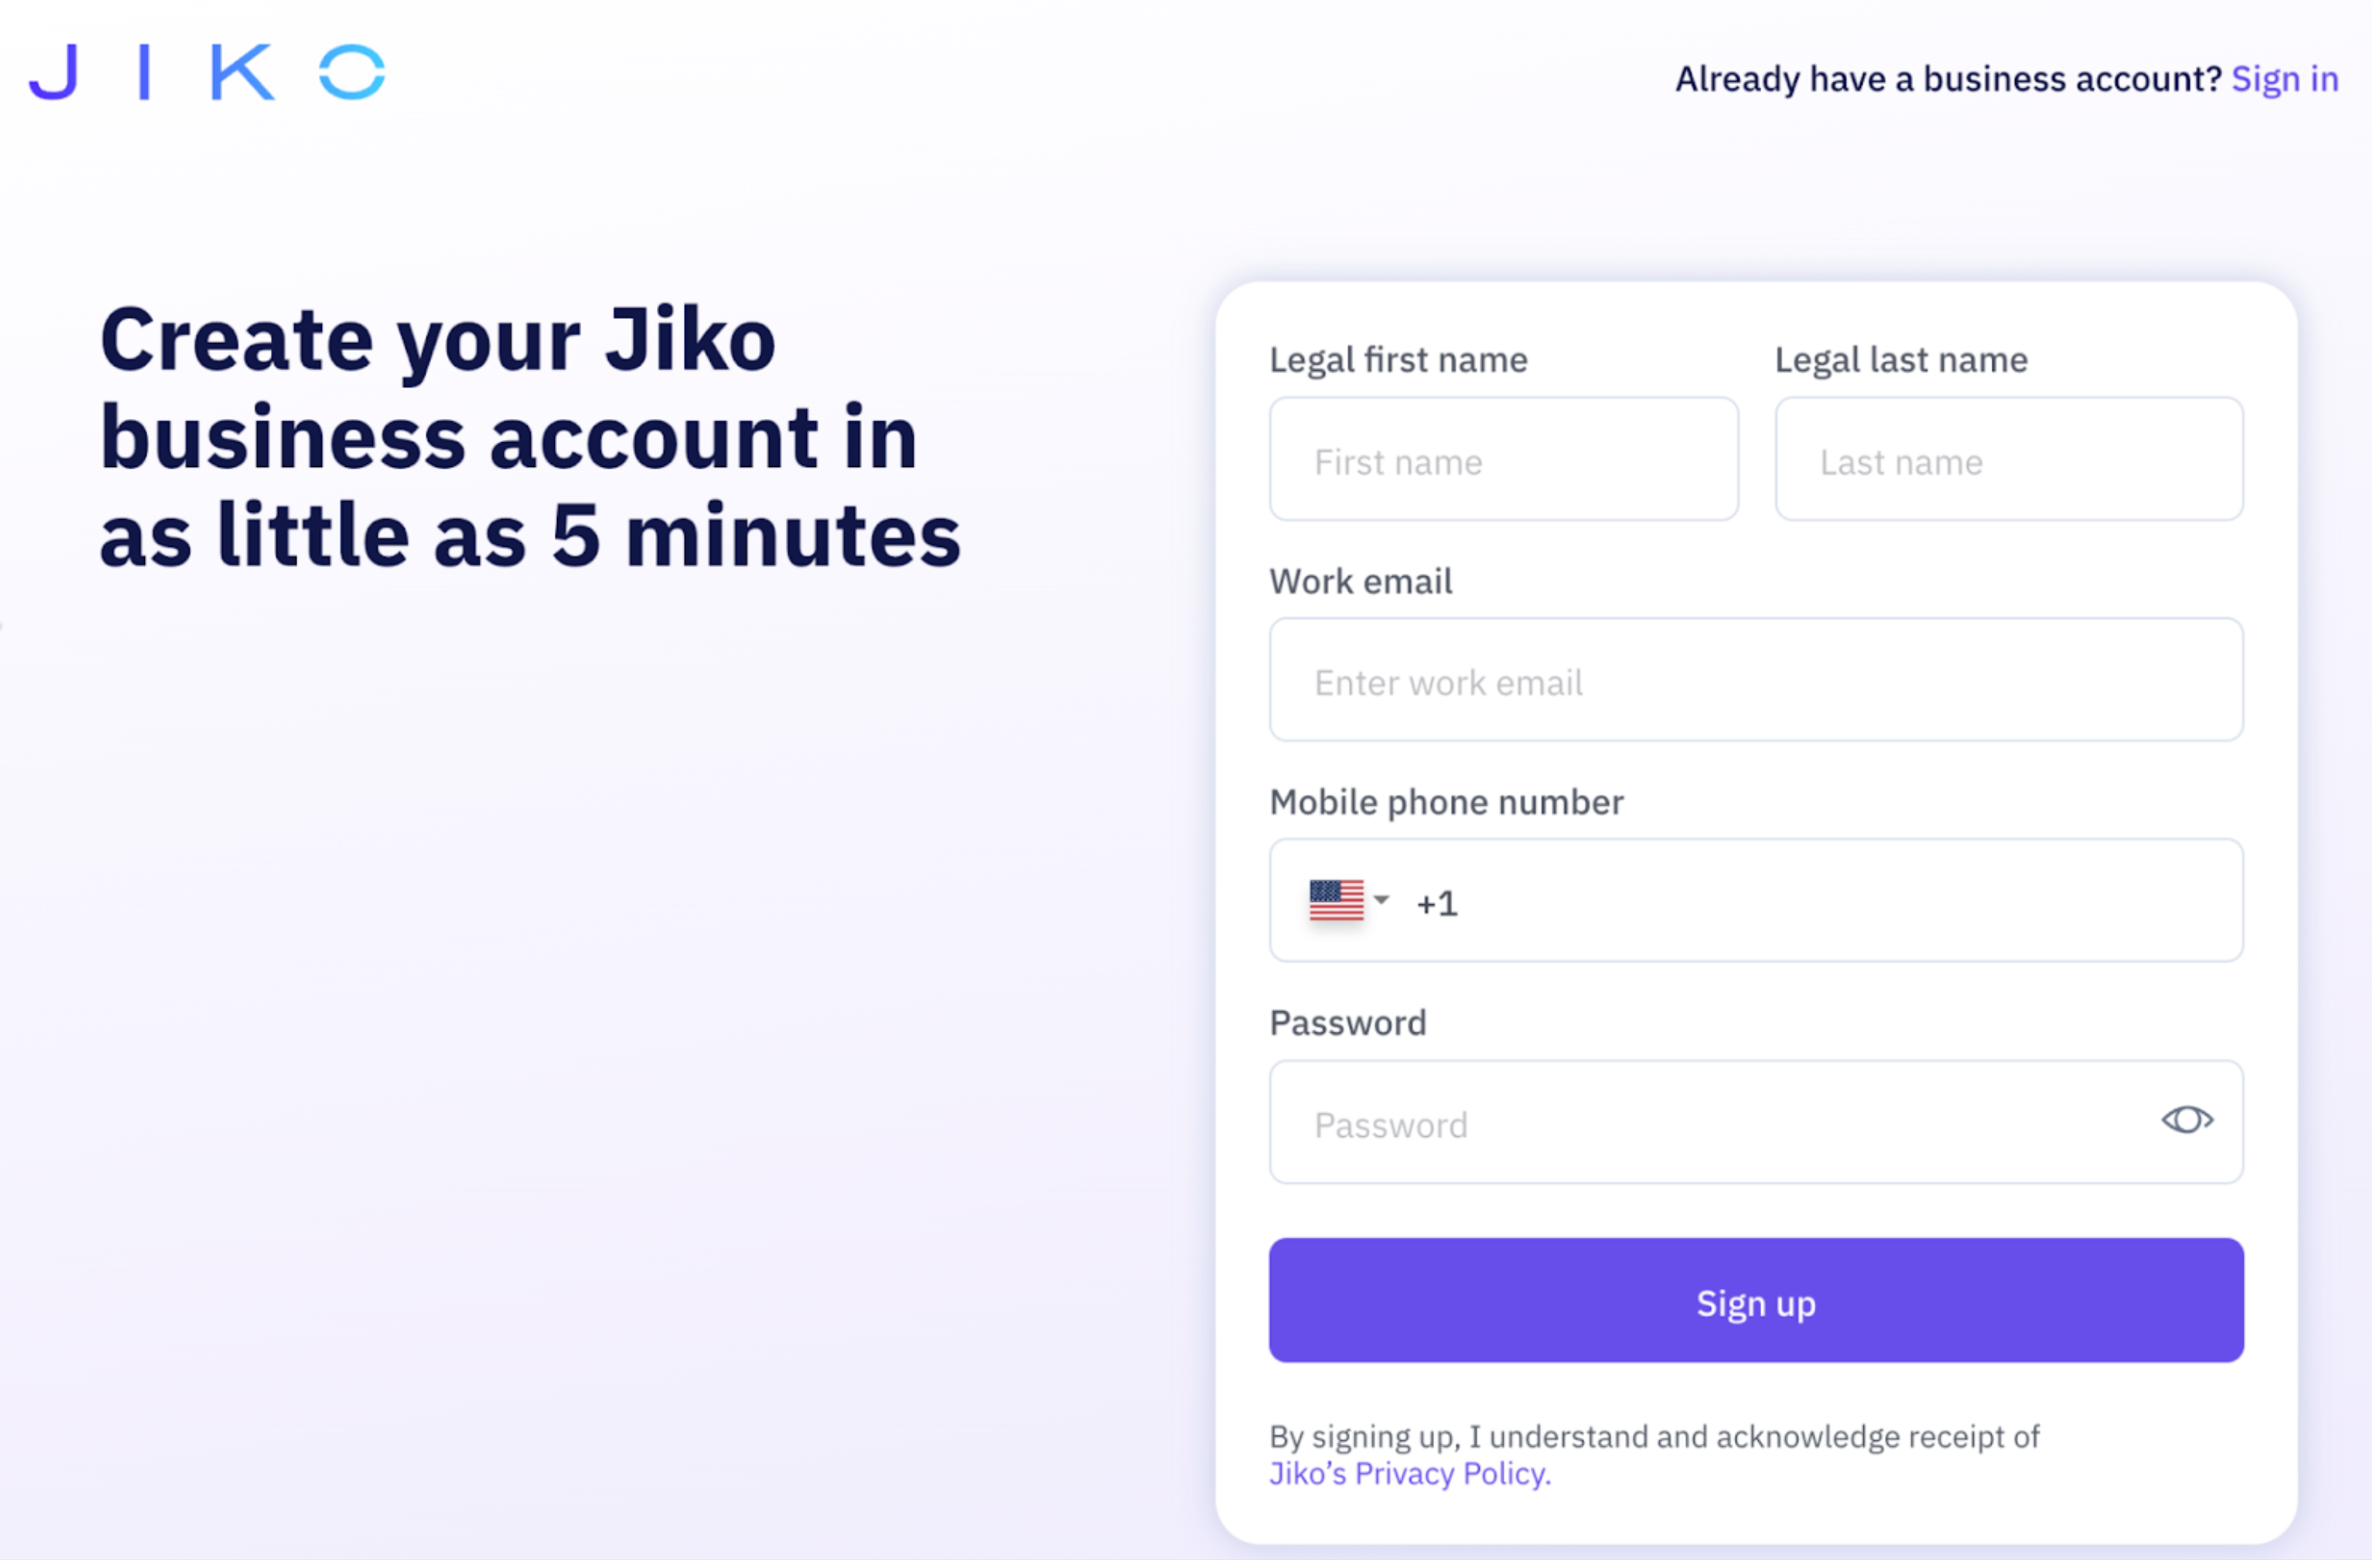
- Fill in this page and click on “Sign up”.
- Receive a verification email:
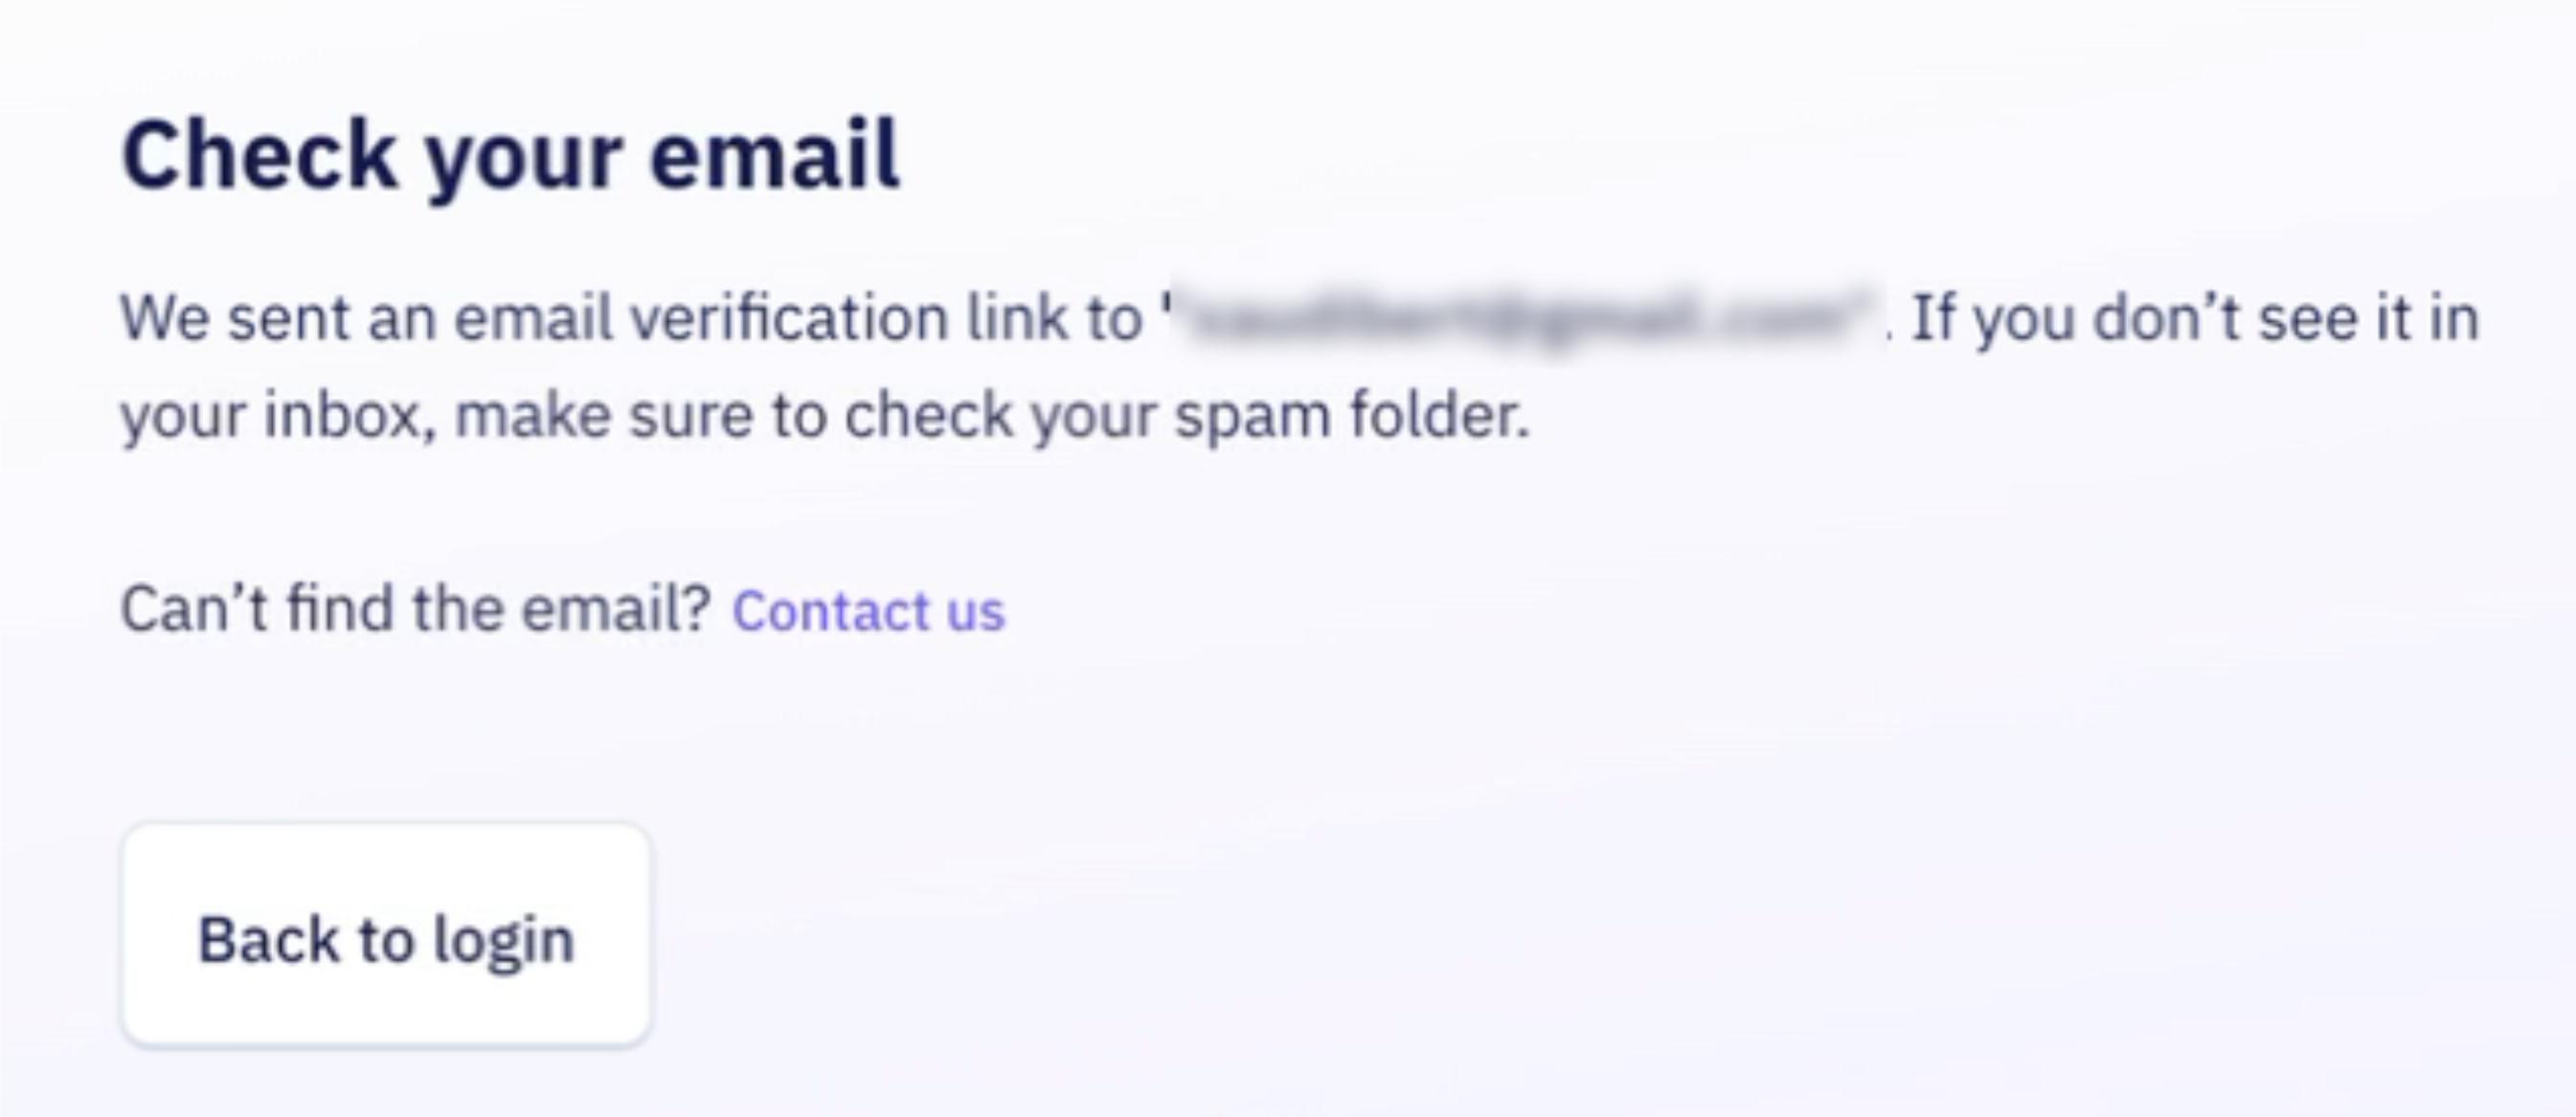
This email is sent from no-reply@sandbox.jiko.com and invites you to click a verification link. Click this link. For information, this link starts with https://authentication-portal.sandbox-api.jikoservices.com/sign-up/verify-email?confirmation_code=***.
- The following page appears. Enter the credentials chosen on the sign-up page.

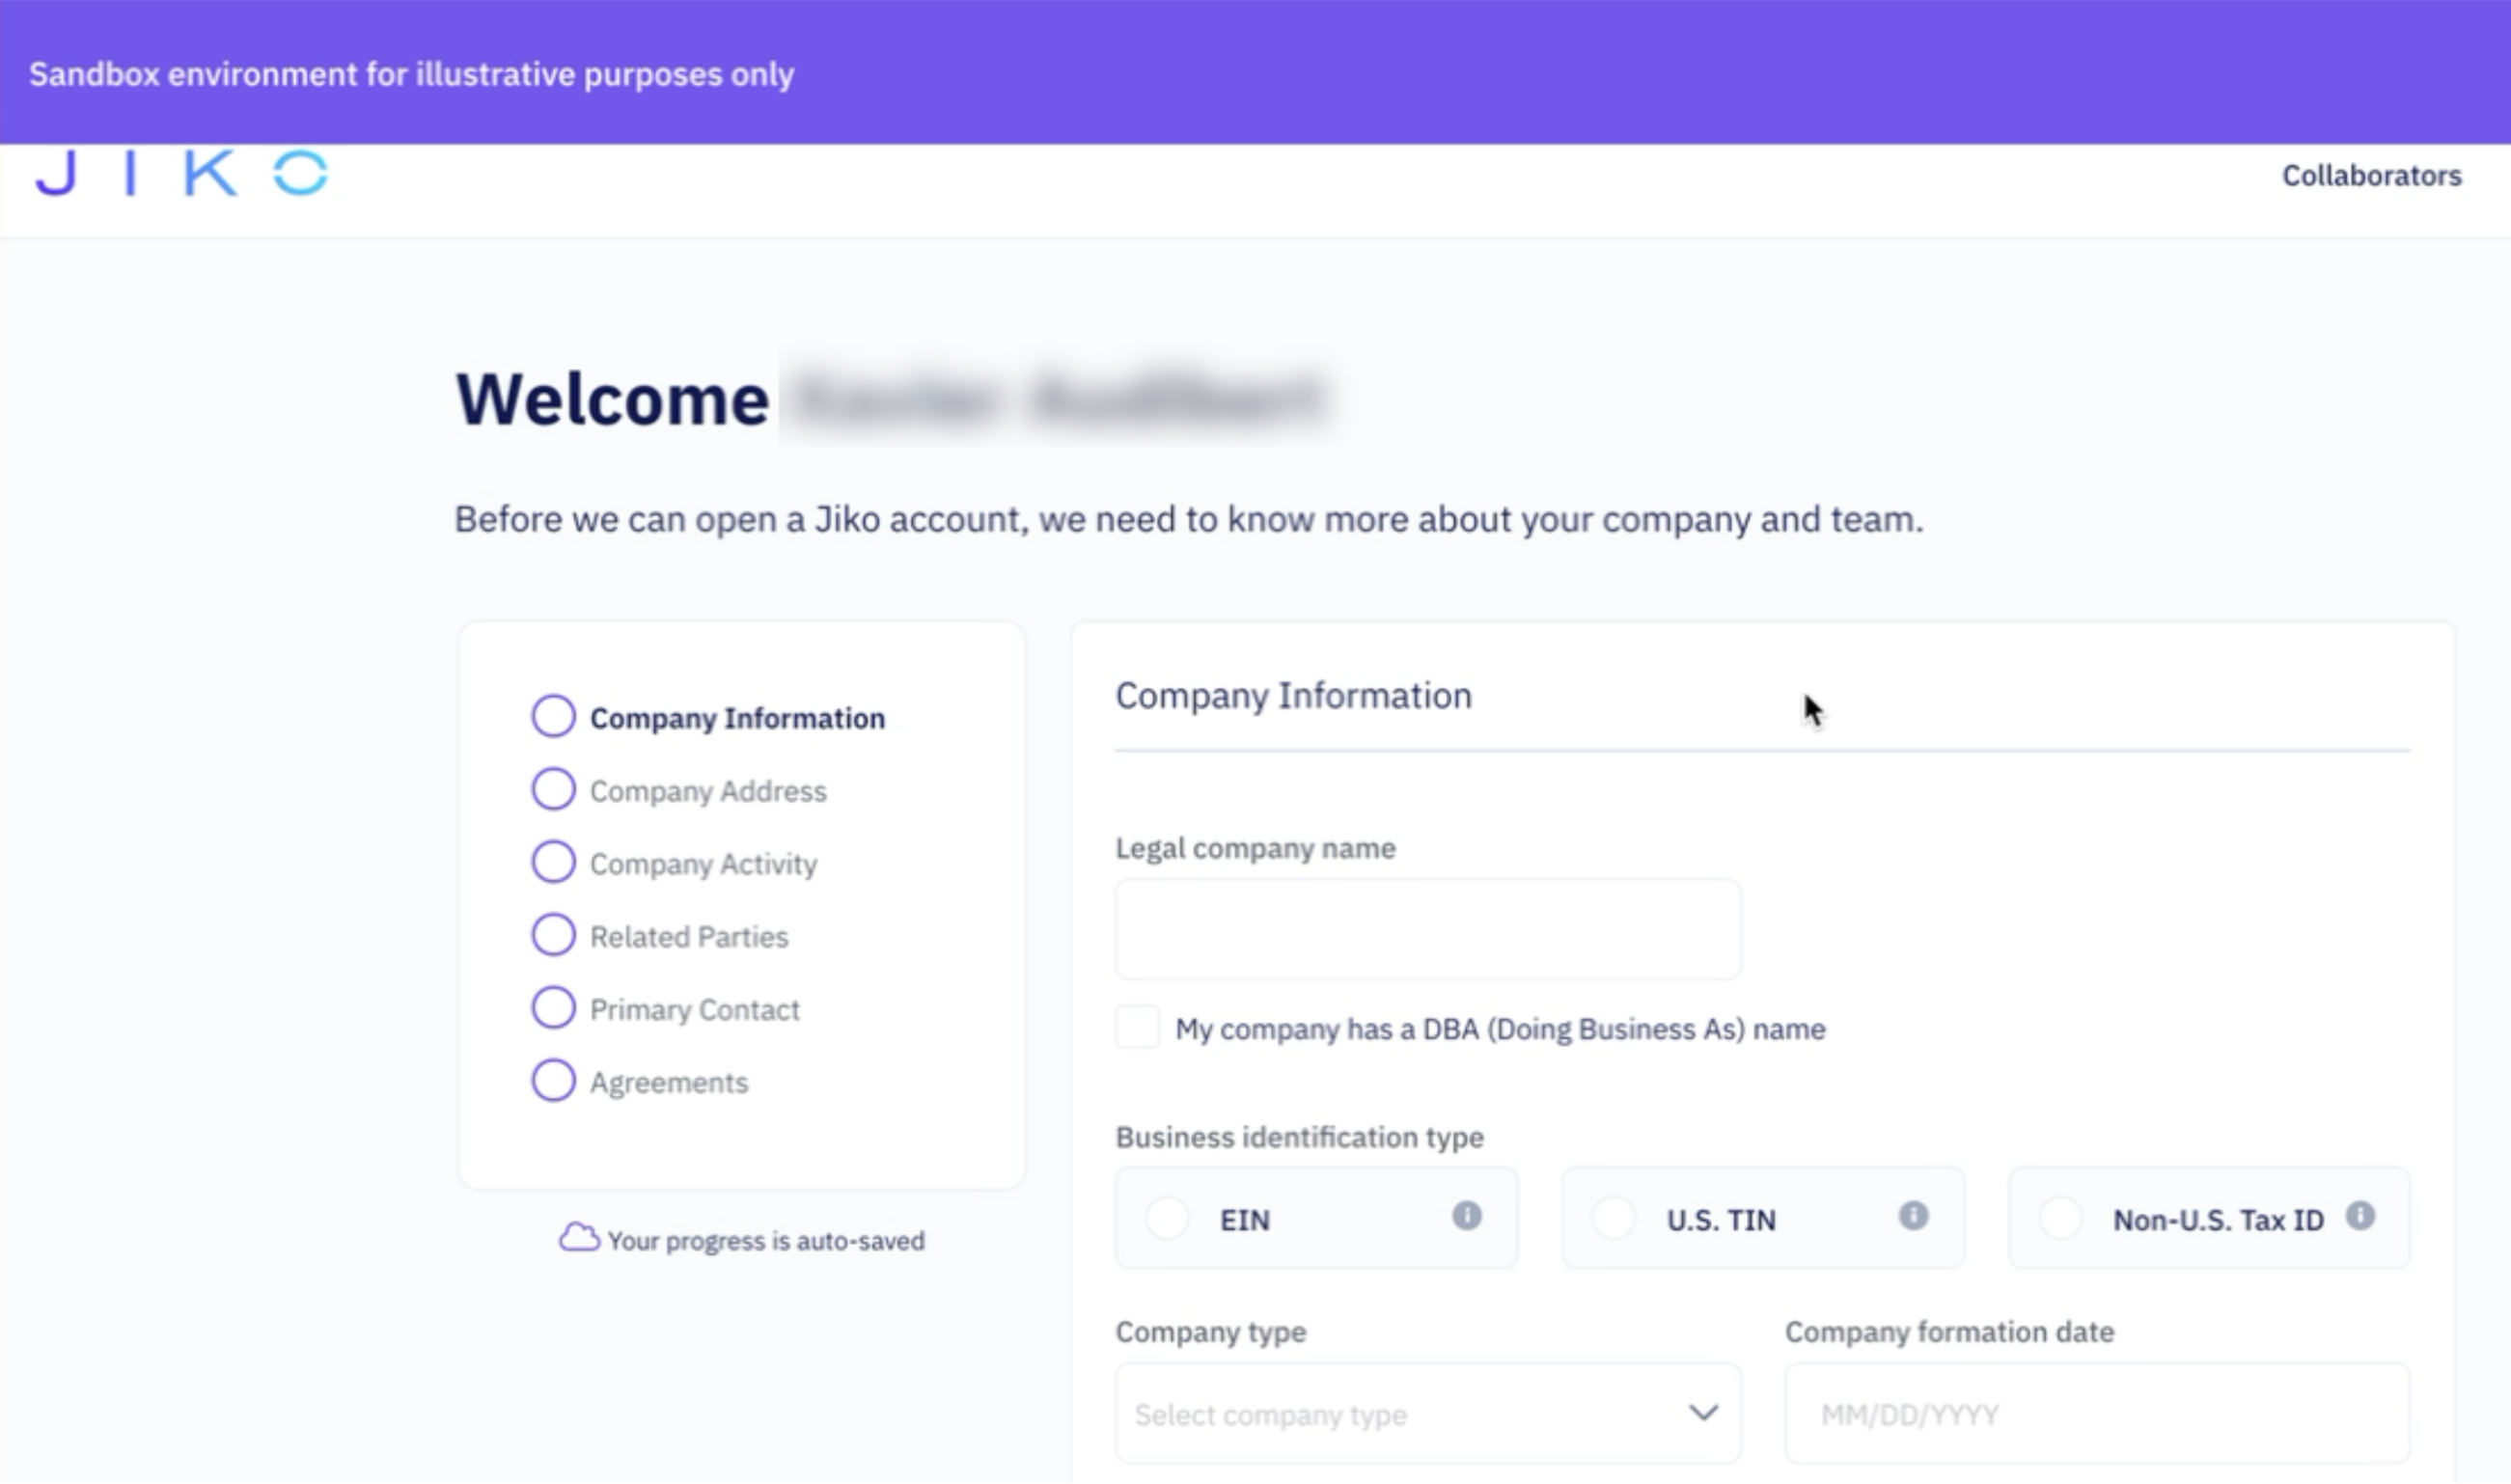
- Jiko's onboarding page is displayed. Accessing Jiko's sandbox environment does not require this onboarding form to be filled in/submitted, so simply notify us that you could successfully see this page, and we will complete the enablement process and create a private sandbox environment for you.
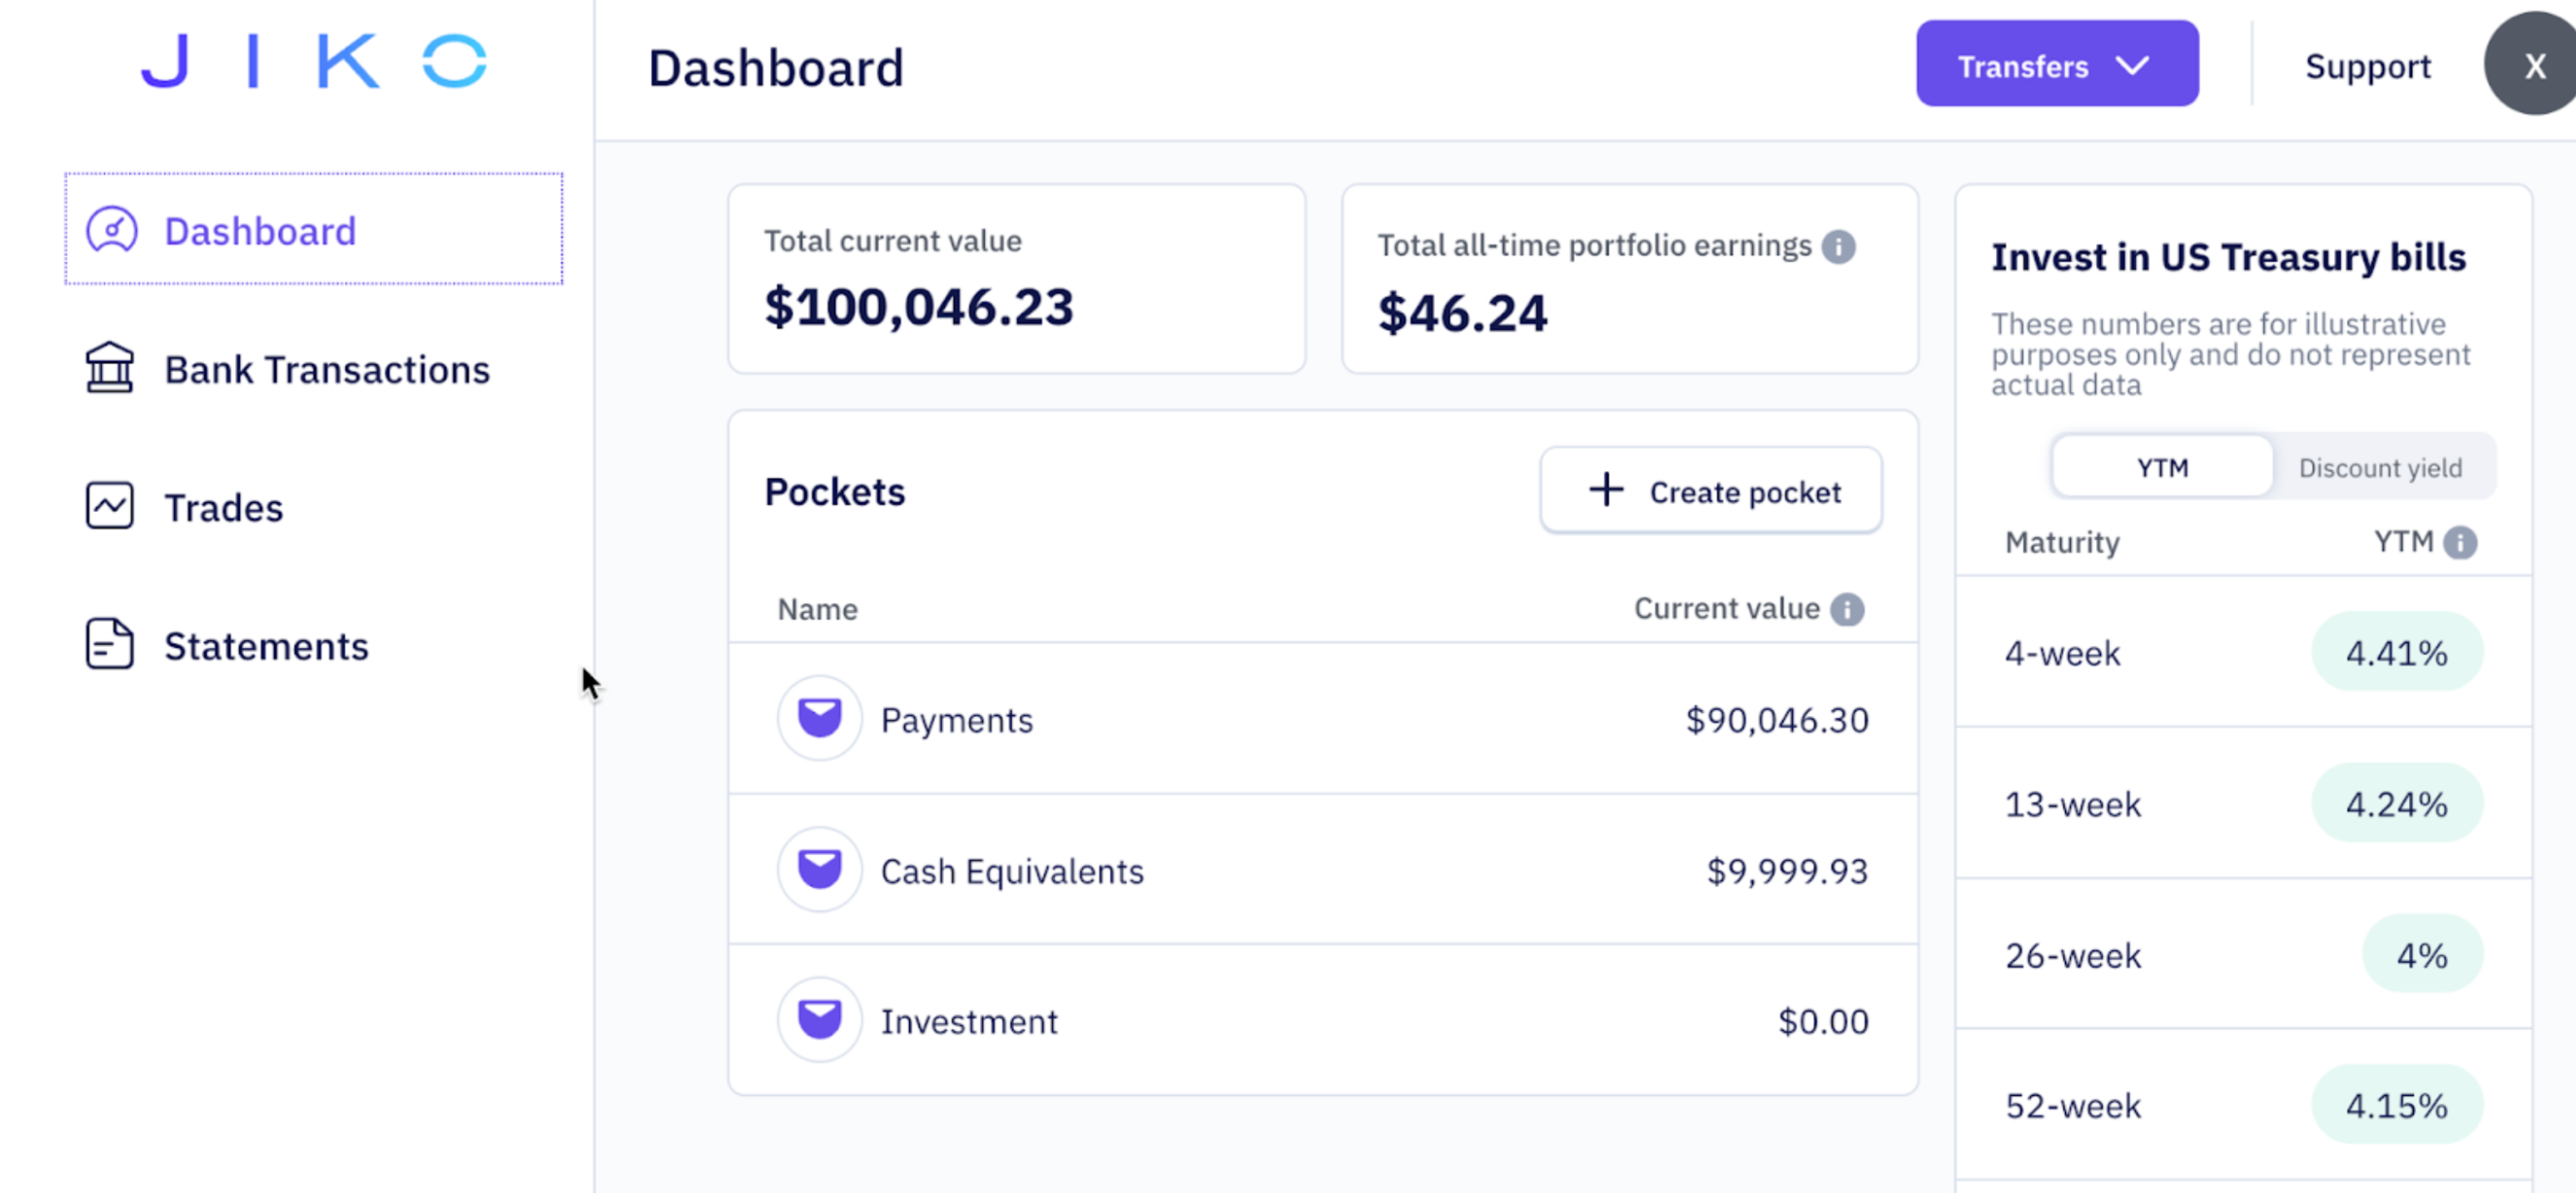
Jiko's team will also fund your sandbox customer account with a fake $ deposit:
- Jiko will create a pocket (a pocket represents a pair of bank account and brokerage account) and fund it with a fake $ amount, which will be automatically invested into fake T-bill holdings.
- You can rename this pocket: click on the pocket in Jiko's home page and then on “Edit pocket”.
- You can also create other pockets, via Jiko's UI (“Create pocket”) or API.
Three pockets were created in the example below:
- Please wait until we notify you that we have created your sandbox environment.
- Use the following URL to access Jiko's sandbox: https://business-dashboard.sandbox-api.jikoservices.com, and enter your sandbox credentials.
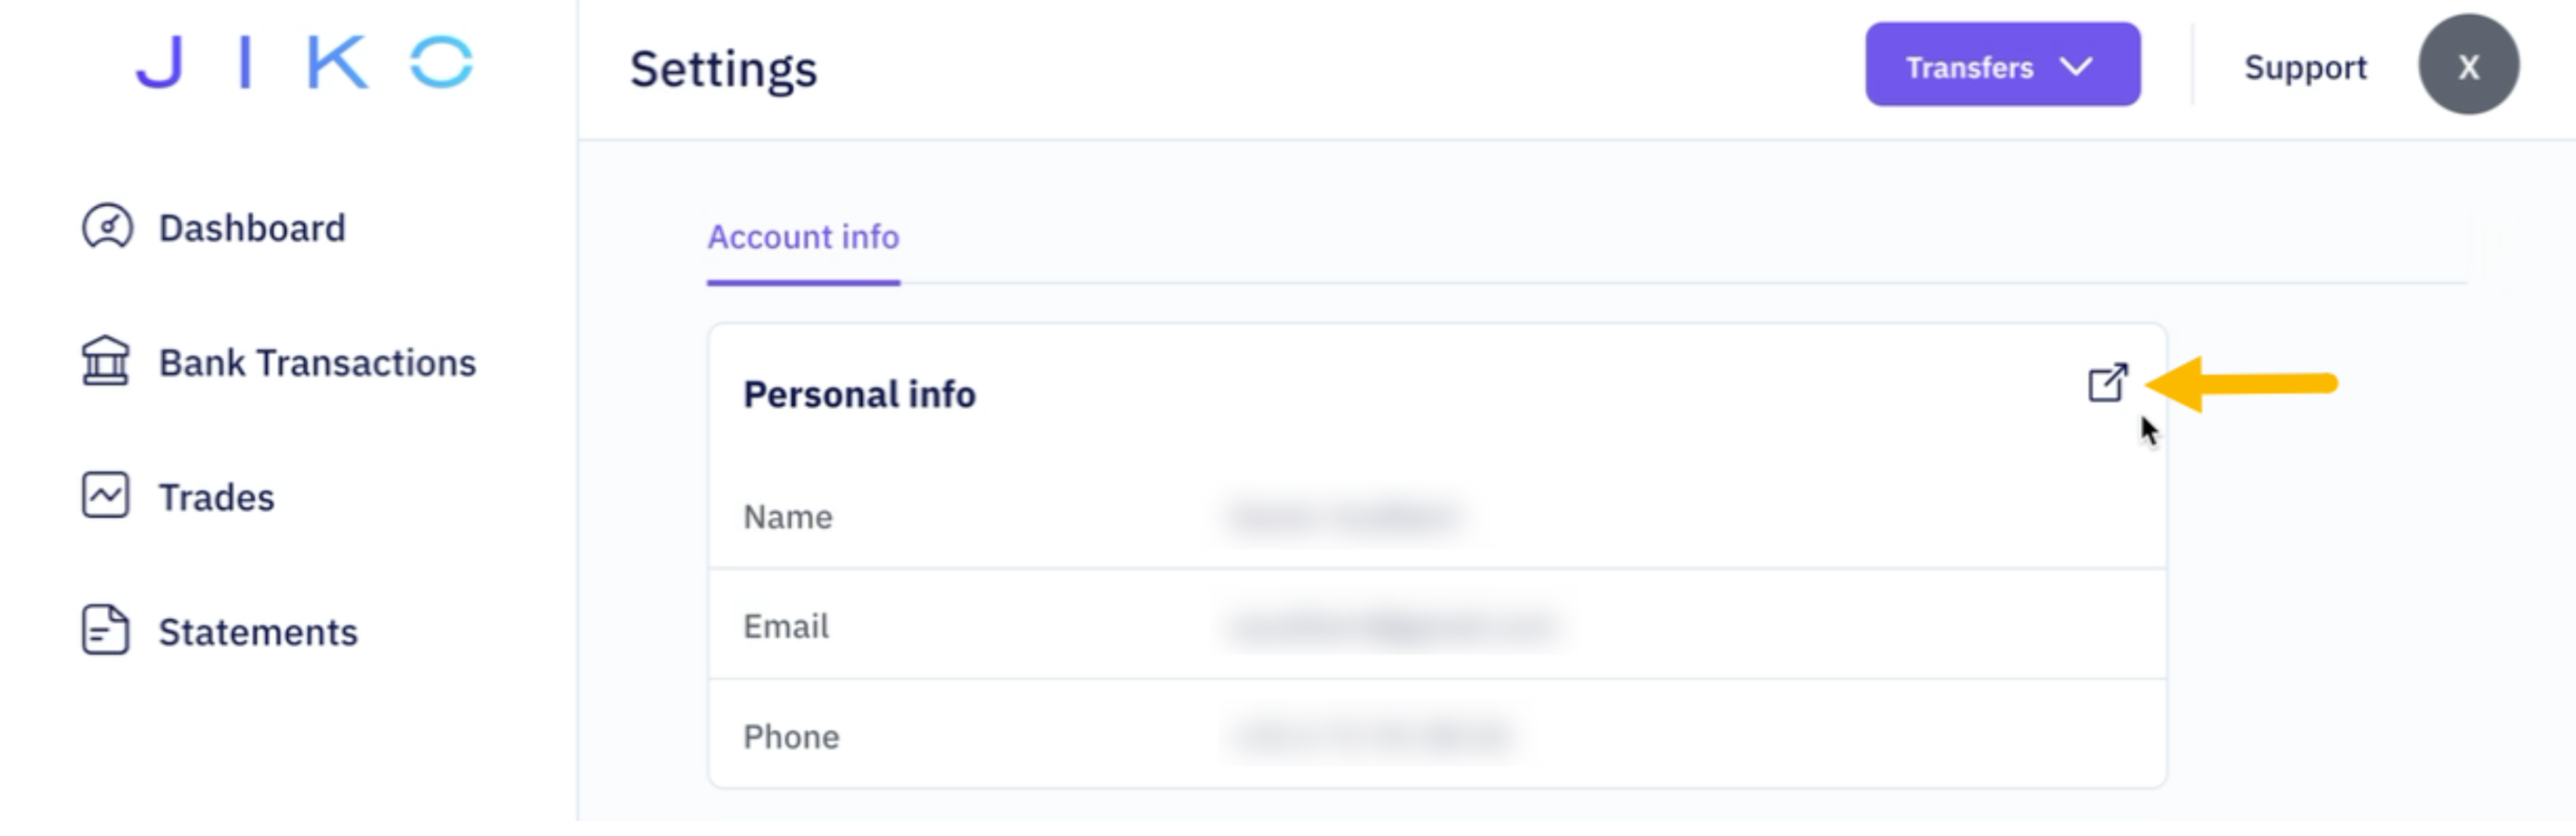
- Click in the top right corner, on the circle representing your user, and then click on menu “Settings”:
![]()
![]()
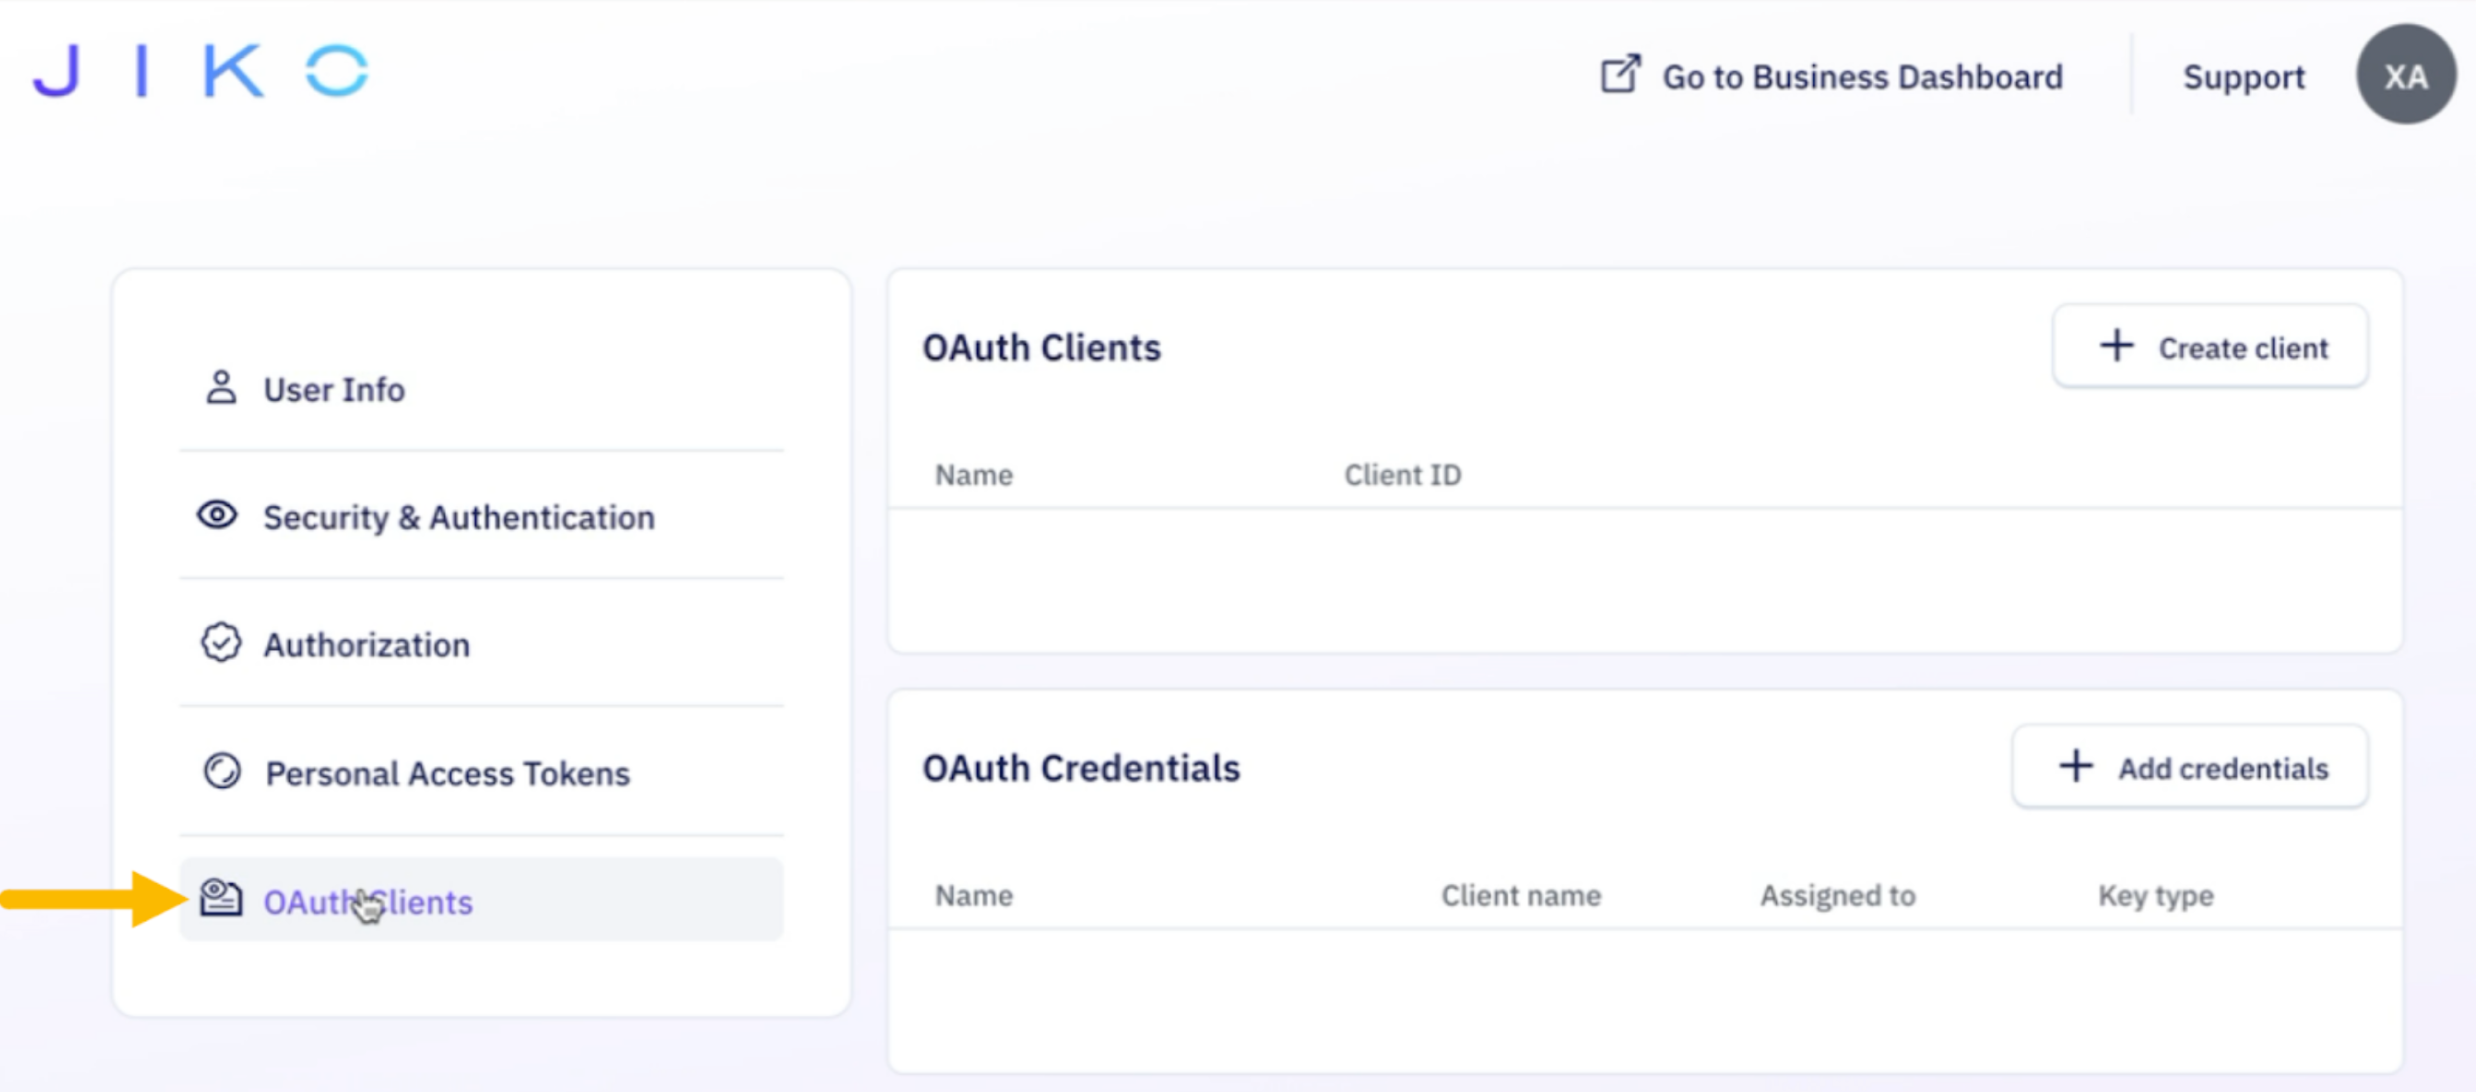
- Click on the icon below to access advanced settings (note: we are in the process of reorganizing this menu structure):
- In the submenu below, click on “OAuth Clients”:
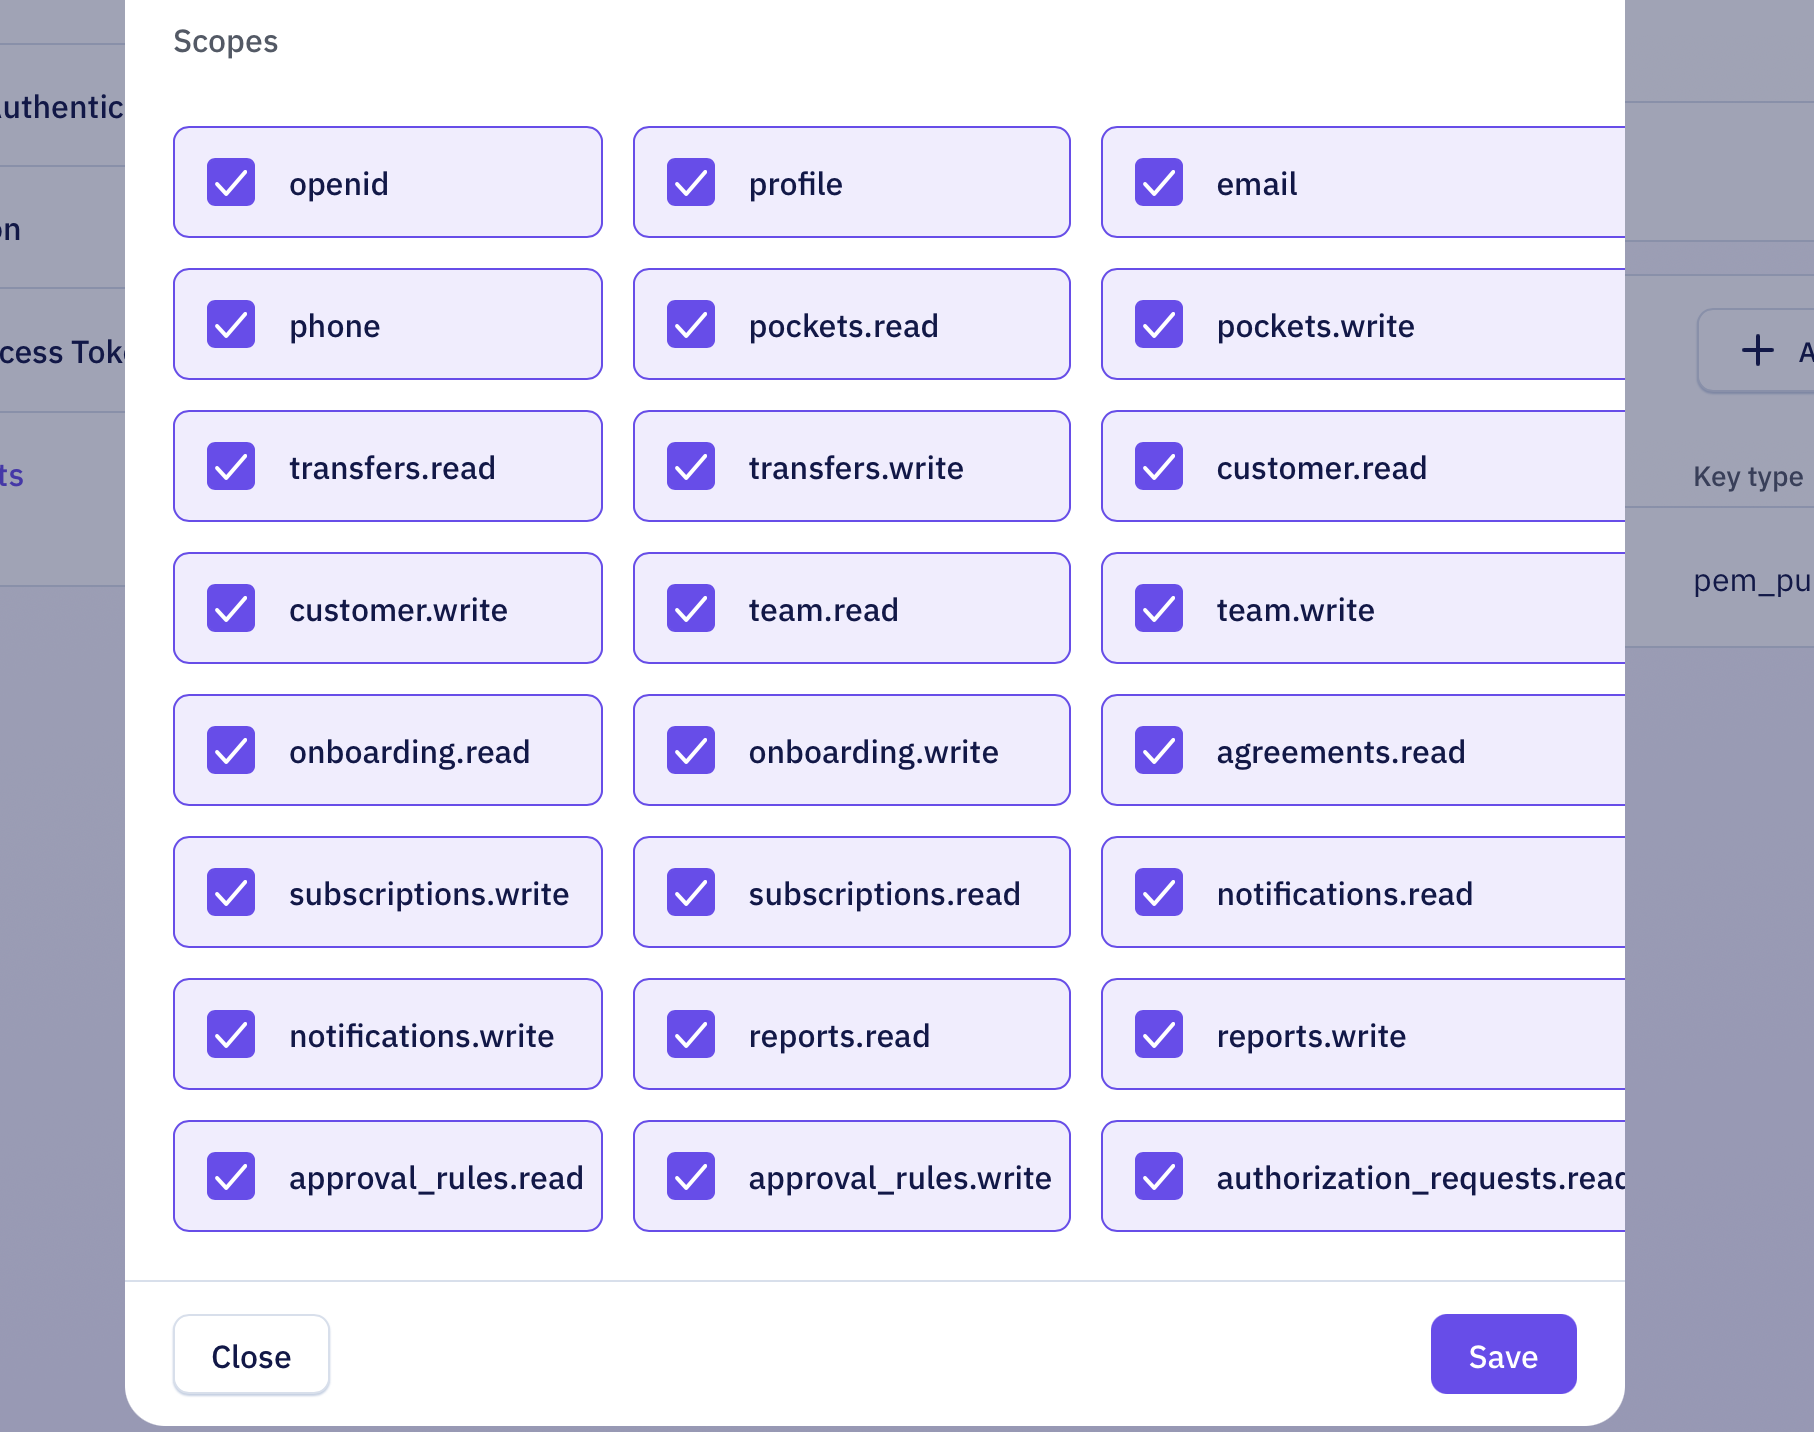
- To create a new OAuth Client, click on button “Create client” and fill in the form below. Where Client name and Description are user-defined fields. Enter your Redirect URIs and choose which scopes to grant access to for this OAuth Client:

- Be sure to add the appropriate scopes for this user.
- Click on button “Add credentials”: choose from your OAuth Clients, enter a user-defined Name and paste your Public Key.
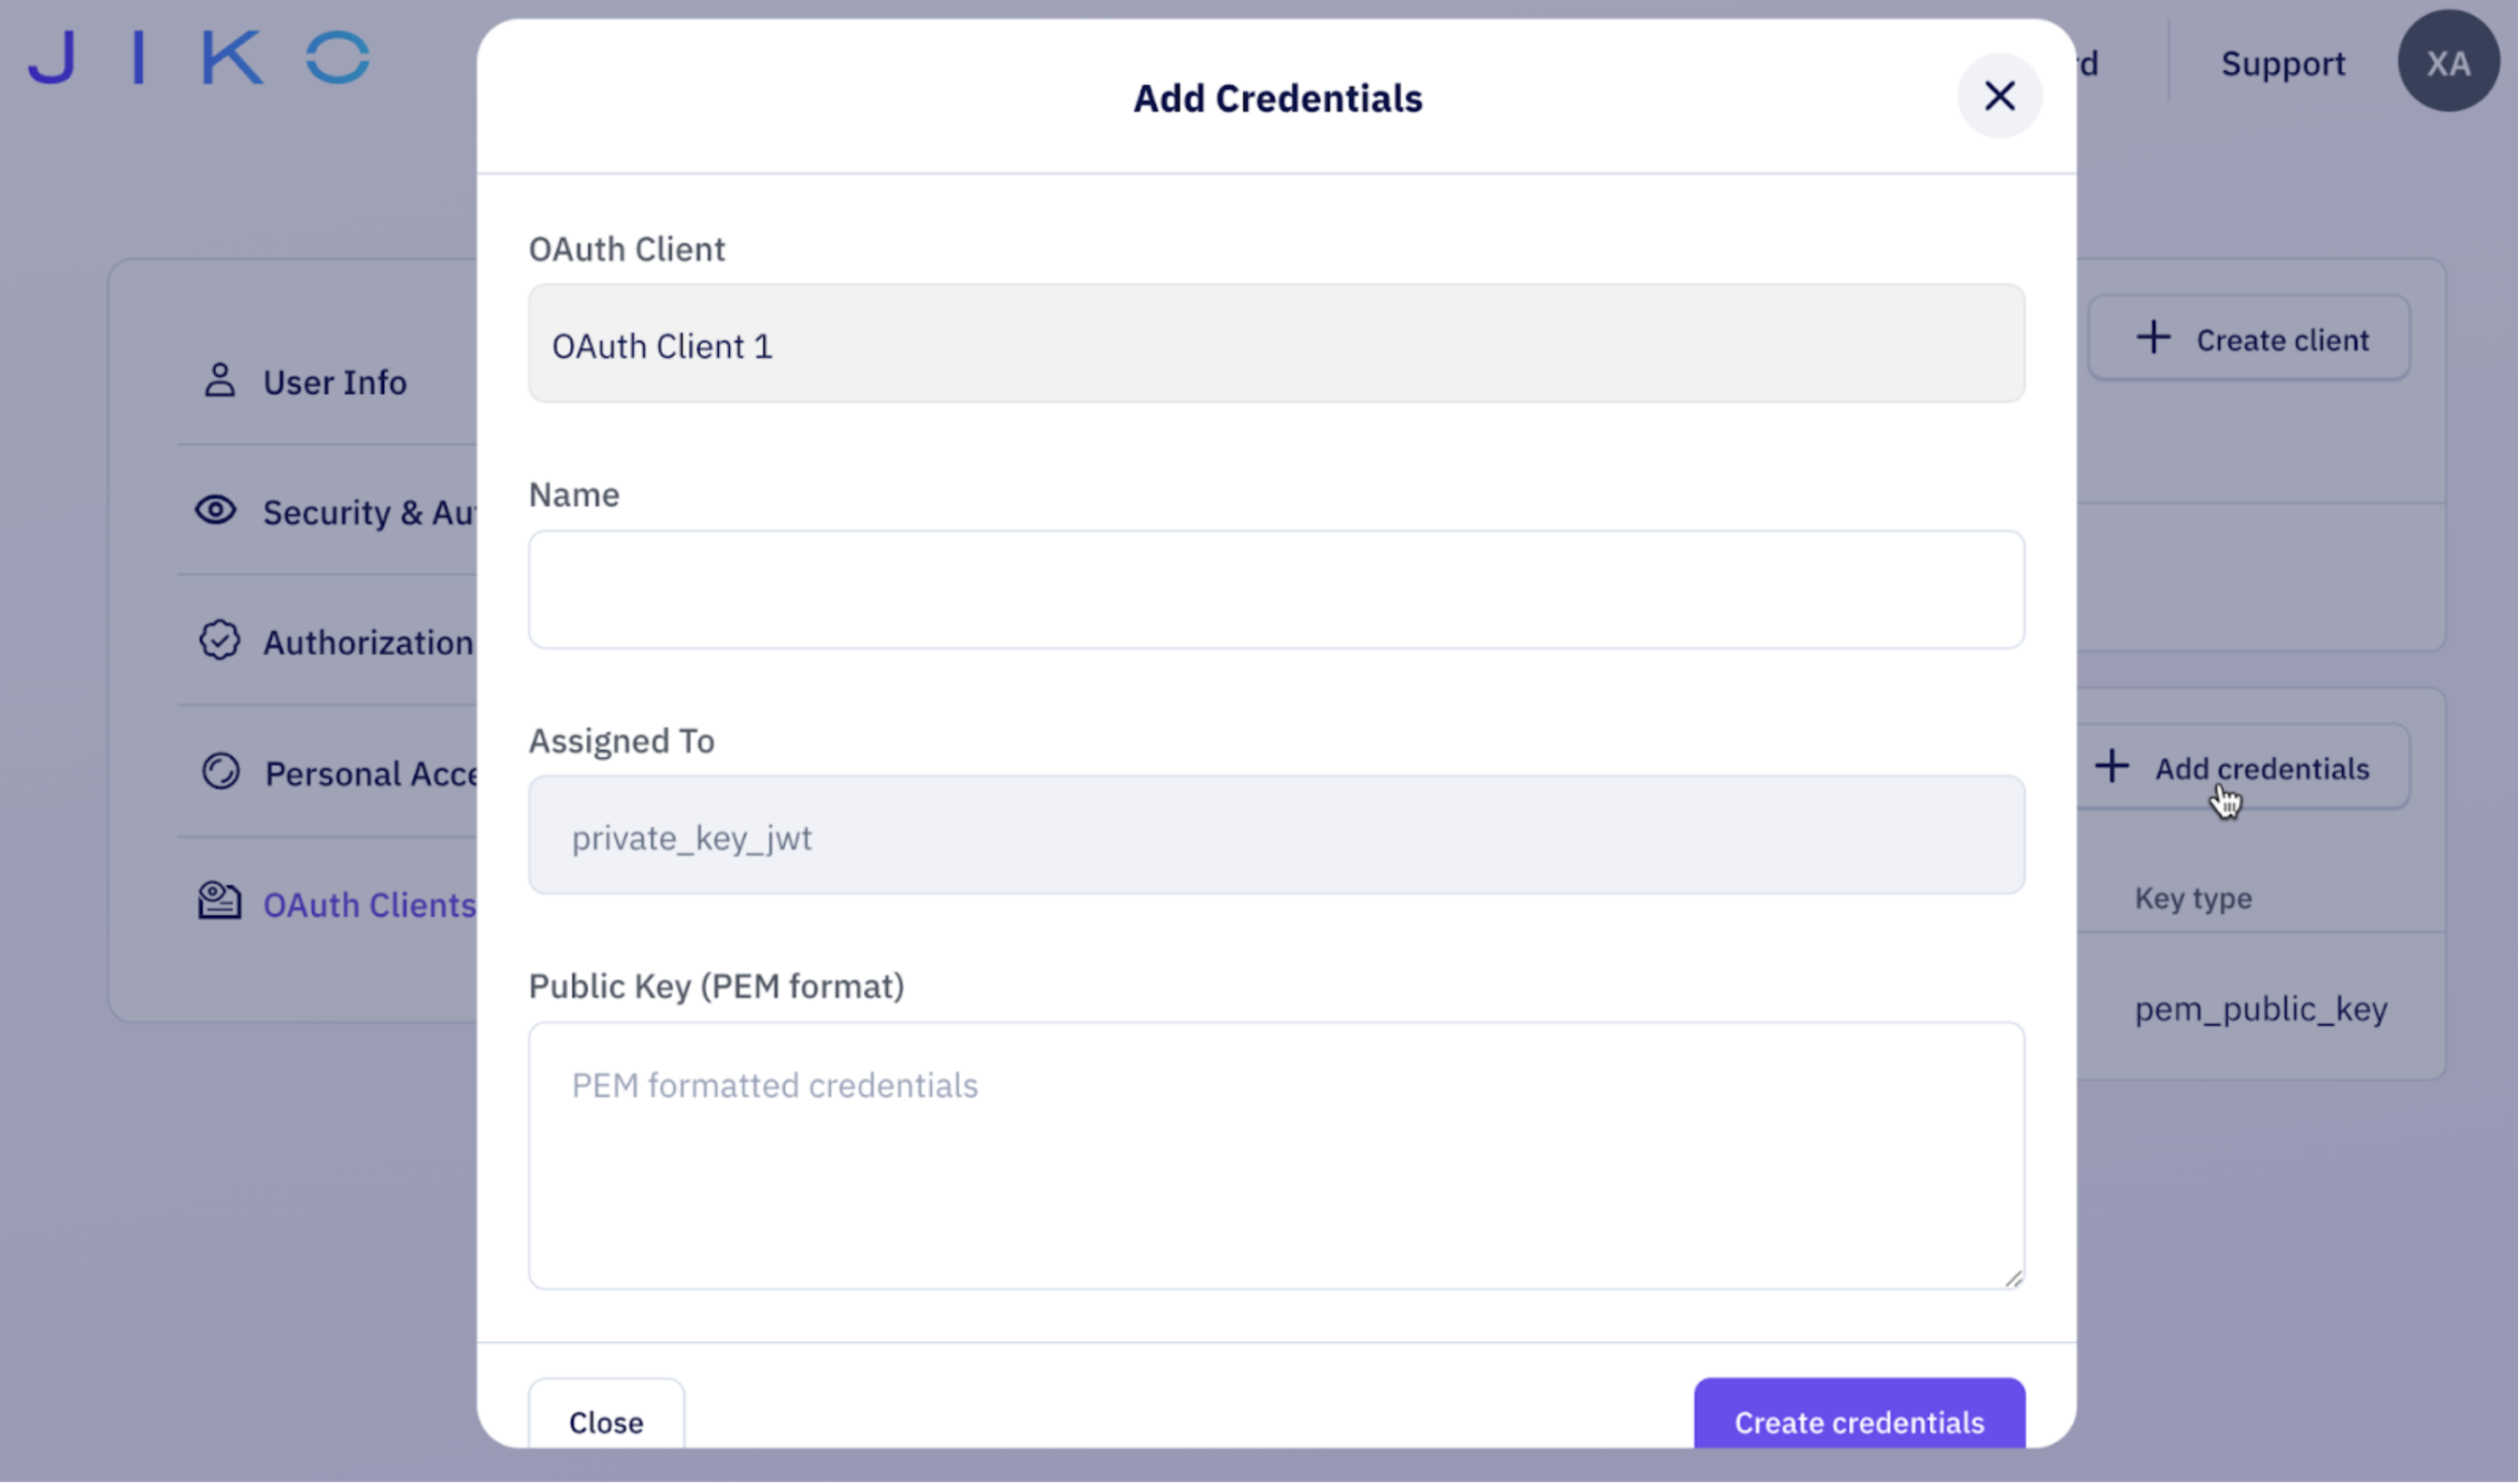
See the Private Key JWT guide that details how:
- Clients generate a JWT and sign it with their private key.
- Clients send the JWT in the client_assertion parameter.
- The server verifies the JWT using the client's public key.
Let us know if you have any questions.
You now have your API credentials for Jiko's sandbox!